Just a
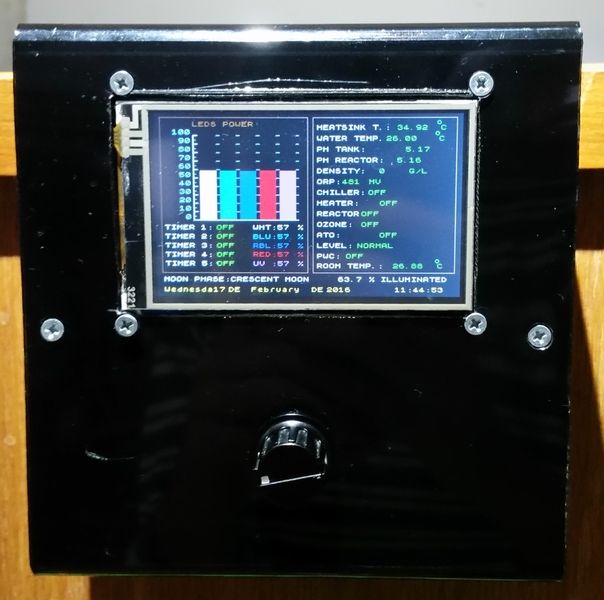
quick long follow up to the original post. I have updated the Arduino to the latest, and here are some more pictures of my build.
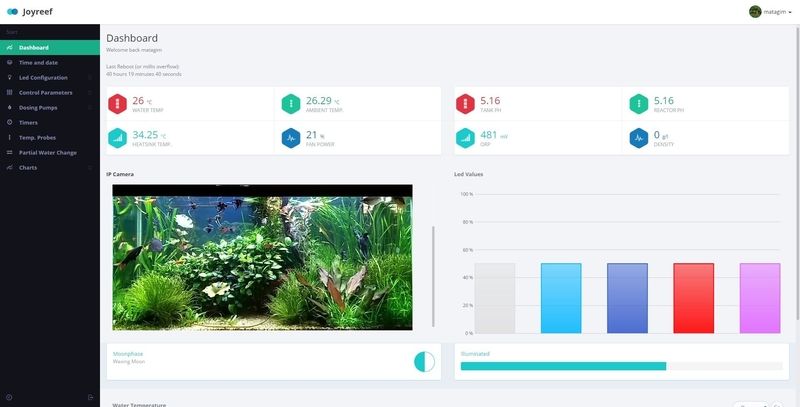
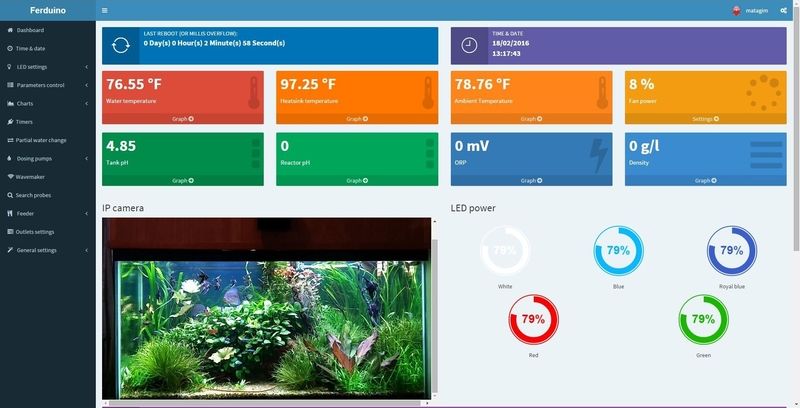
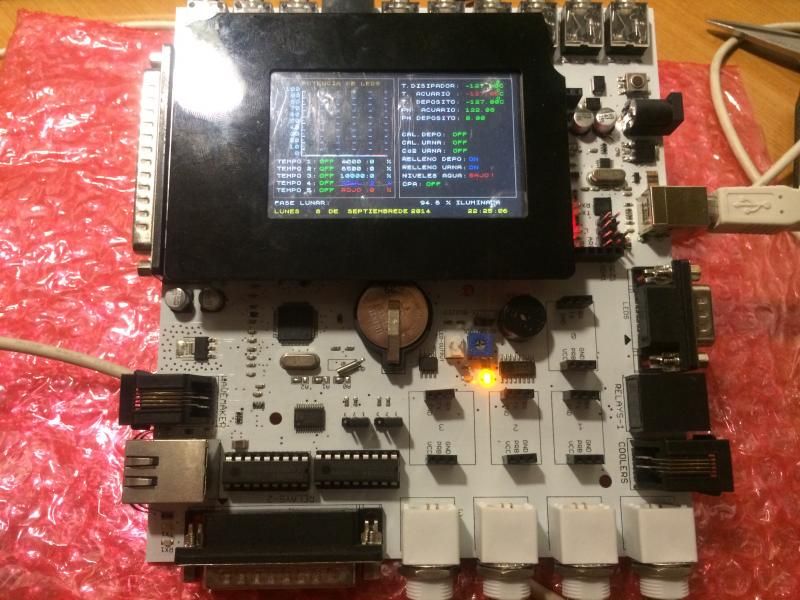
This is the updated site, I just switched over from JoyReef. I am enjoying the Fahrenheit measurements.

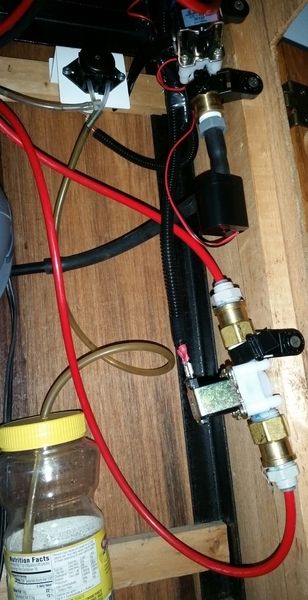
In the top left, there is one dosing pump for the tank. The top center is a pump and valve for PWC. The bottom valve with the red hose is for ATO.
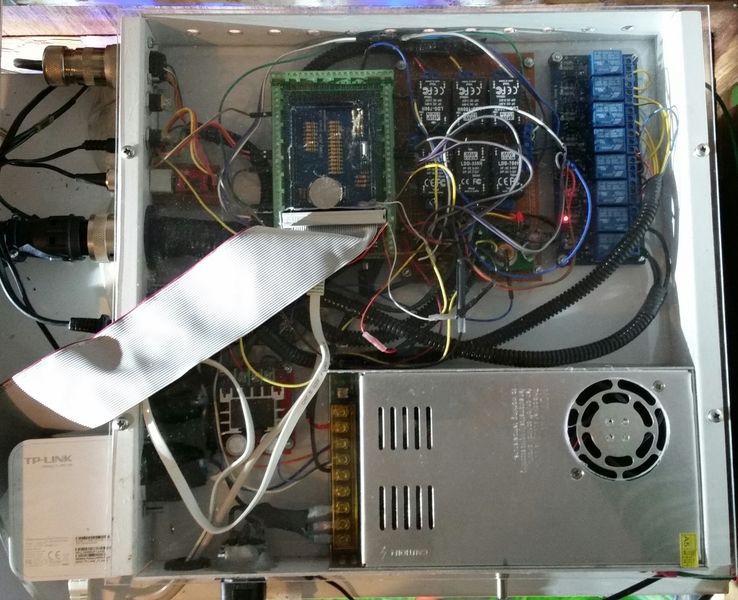
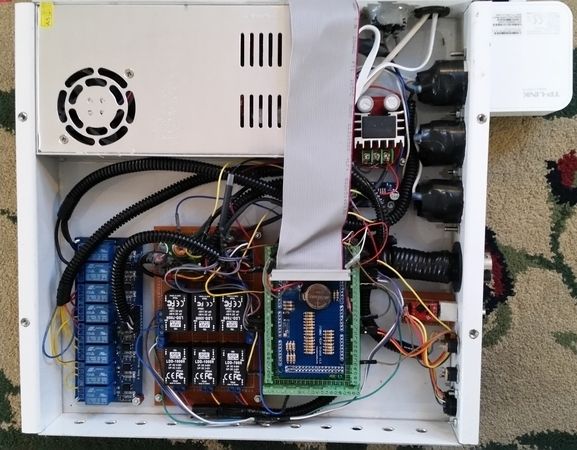
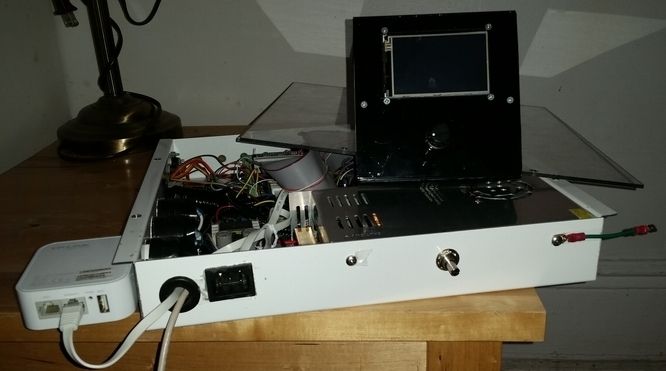
This is another top view of the Arduino, but this time, I took off the glass cover.
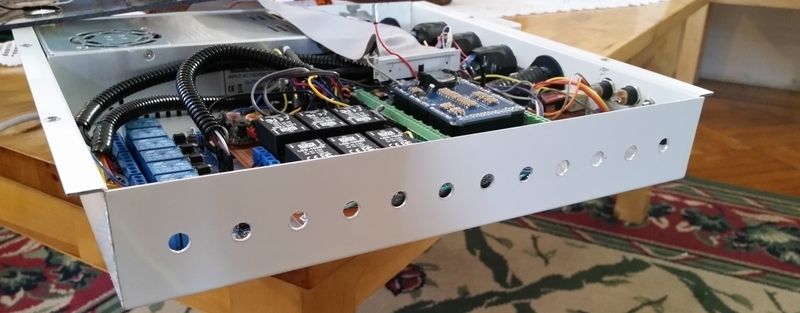
This is a side view of the case, it is as tall as the power supply. Holes at the side are for venting.
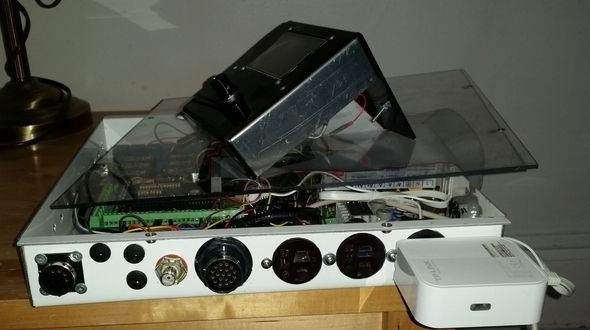
The first three plugs from the right side are for appliances like the heater. I use a mini router so I do not have to run an ethernet cable to my tank. The remaining plugs on the left side are for probes, LED's, feeder, dosing pumps, ATO, and level sensors.
The back side just has a power cable input. This is the cable used on most desktop computers for the power supply.
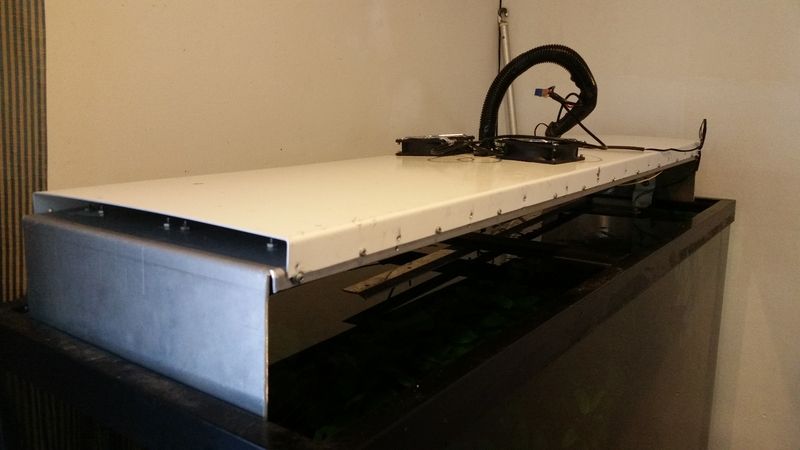
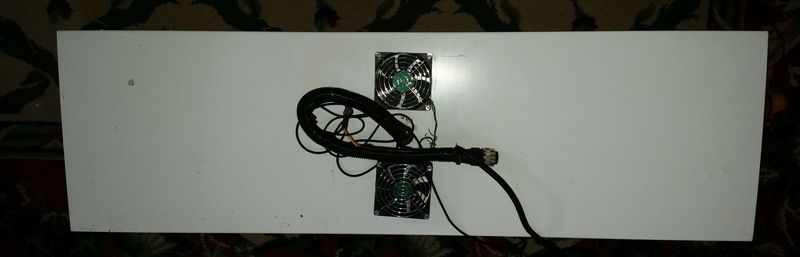
This is my LED Build. It has two fans on the top, and the cable carries the wires for any appliance under the aquarium. LED's are under the metal.
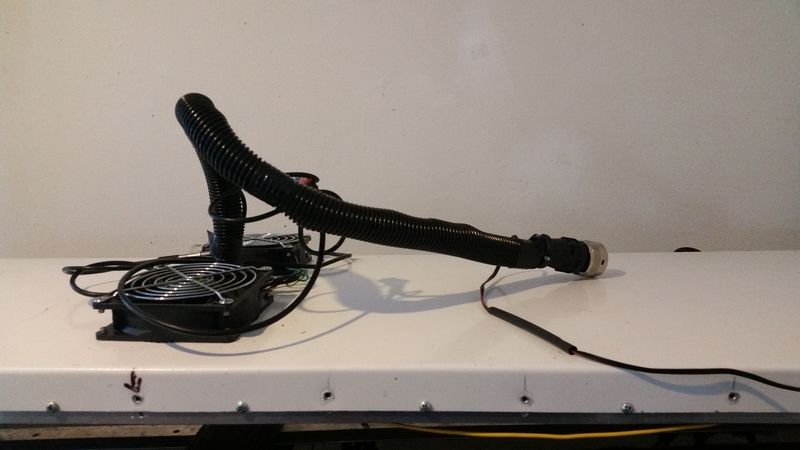
This is a close picture with the fan and the cable.
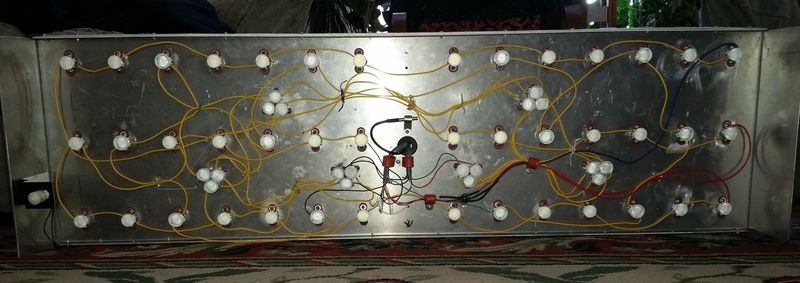
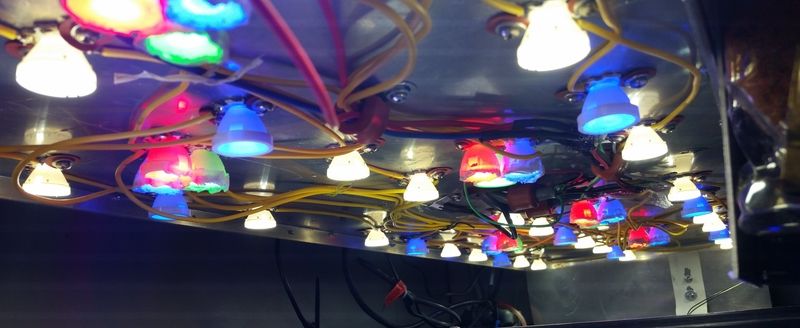
This is the under view of the LED build, I use white, green, blue, red, and royal blue for my 5 channels.
This picture shows the LED's when they are on.
Finally, this is the top view of the LED Build.

That took long! With this setup, my plants grow too fast, and I have to cut them very frequently (It is not a bad thing

). If you look at the tank in the first picture of this post, the two angel fish on the right have started to breed endlessly.

The tank is now filled with their babies. Once again, thank you Fernando, and I wish you the best of luck in the future.
Regards, Michael.


 . This is a freshwater tank too, in case some numbers look different.